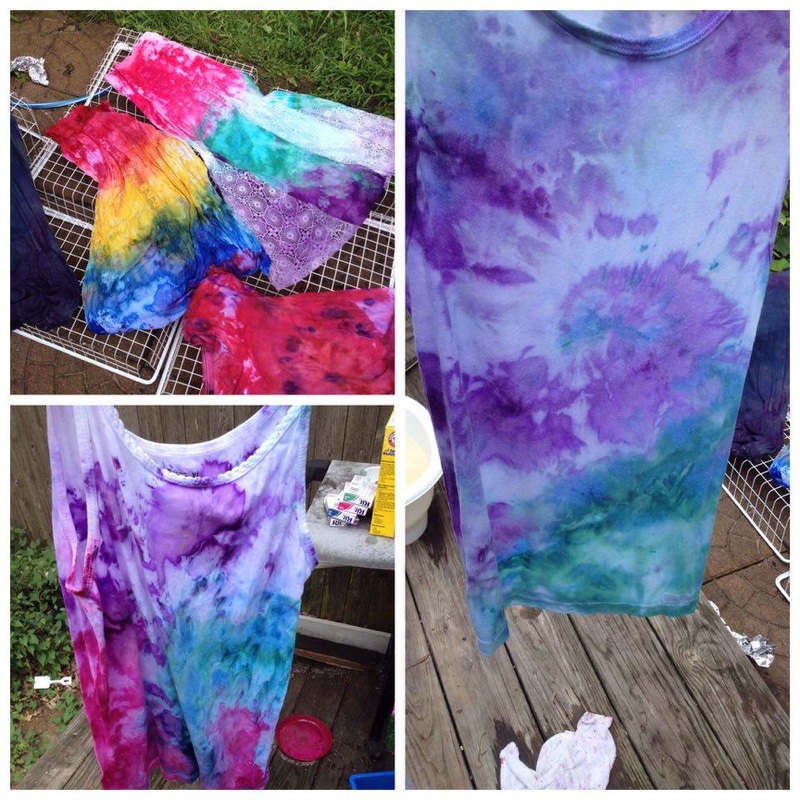
 One day I was messing around on Facebook and I saw a post in one of my baby wearing communities. A mom had taken her baby carrier and ice dyed it. Now, I was raised by hippies, I know all about tie dying and have a great appreciation for it. But I had never heard of ice dying in my life! I was intrigued! I loved how the carrier turned out, so I decided to search the internet to learn about this mythical, and wonderful, art form. So I got lost in the internet for a few days because that's what I do. I research the crap out of something, figure it out, then do it. So that's what I did! My niece came to visit a few weeks later and we were looking for something fun to do. I decided it was time! We were going to be visiting my dad in a few weeks in Washington State for his Motorcycle Rally (www.rainforestrun.com), so I figured having some new clothes would be fun! Excited, we set off for the thrift store. We poured over the store and got 2 white shirts each to dye. We bought the dye and then a big sleeve of ice and we were ready to go! To do this, you need the following: *Stuff to dye (preferably white, but light grey, off white, and light tan can work too) *soda ash *powdered dye. NOT LIQUID (I used Rit. I hear others brands work great as well) *a lot of ice (we used a large Costco sized bag for 10 - 12 items) *Aluminum foil *Grates, or something to put the clothing on so the ice melts through and the clothes are not in a puddle. Be creative. I used wire shelves. *Vinegar *Water With trepidation and excitement we started! 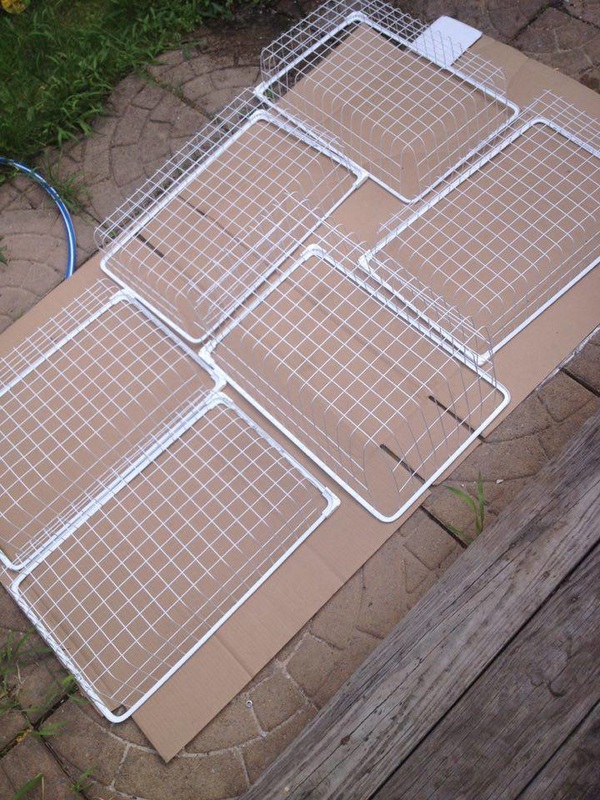 One of our friends had given us these Ikea baskets the other day, and they were unexpectedly perfect for what we needed! We laid them out and got ready! 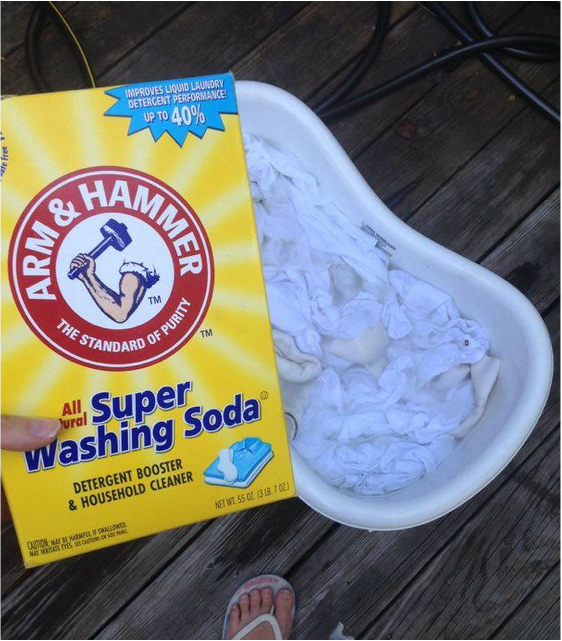 First we soaked the clothes in soda ash to help the colors soak into the fabric better and make them more vibrant. Our infant bathtub we were no longer using was perfect for the task! 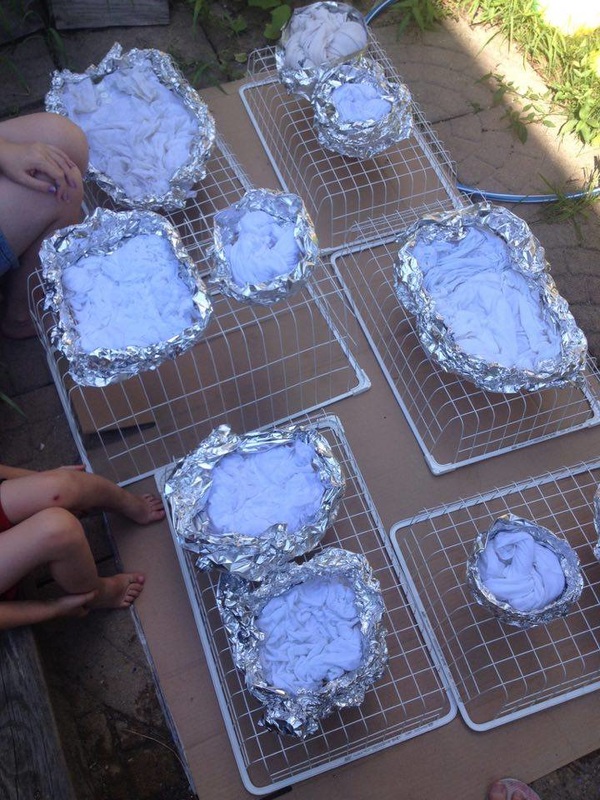 We pulled out each item and wrung out the excess water. Then we placed each item separately on the wire drawers. We then then scrunched them up, and added a twist here and there for fun. Having it not lay flat makes even cooler designs. Do NOT roll it up tight or put rubber bands on it like you would for tie dye. You want it loose. After we got everything like we wanted it, we made aluminum foil walls. The walls keep the ice on the clothes while it melts. So we bunched up lengths of foil and wrapped it around the clothes. By now we were actually melting because it was like 95 degrees out. But we persevered! It was time for the ice! We gleefully covered each item with a pile of ice, cooling ourselves in the process. Ideally you don't want any fabric without ice on it. So pile it on! 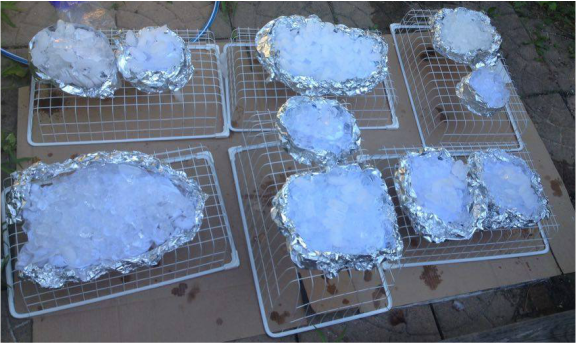 Finally it was time for the fun part! We got disposable spoons and used them to sprinkle the dye on the ice. We had no clue what we were doing so we tried a bunch of different ways to do it figuring something had to turn out well right? And now, we wait for the ice to melt. We scurried inside to cool off at this point. 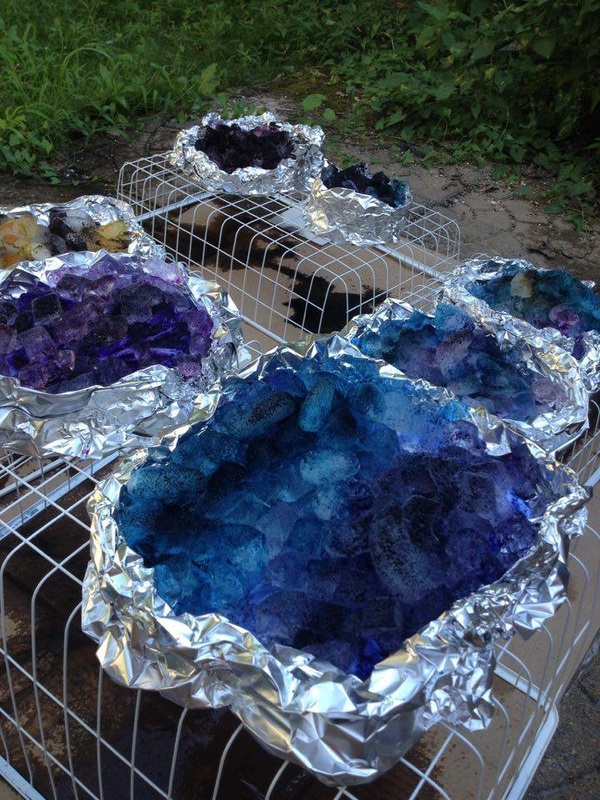 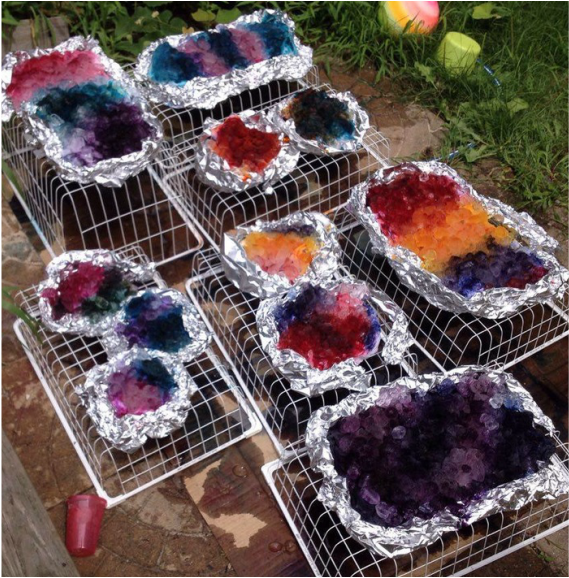 It was so hot, it only took a few hours for the ice to all melt. I removed the foil walls and rinsed the garments off in the position they were in one by one. After the water ran clear, I opened them up and rinsed some more. I laid them out to dry, quite satisfied with how things were going! 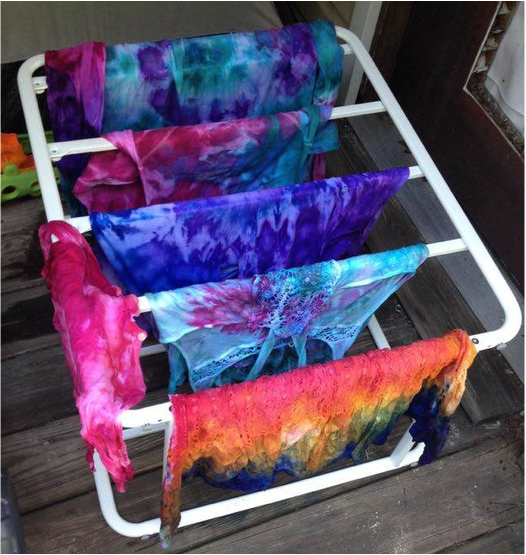 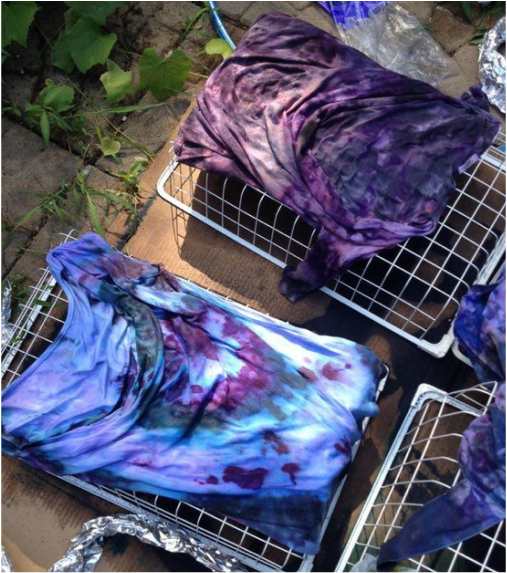  I let them dry overnight, and the next morning I soaked them in vinegar and water for approx 30 min. to set the colors. I kept like colors together just in case some things bled, which meant that some items ended up in bowls by themselves. After the vinegar soak I put the items (again keeping like colors together) in the washing machine for a cold, gentle wash. Then they air dried. 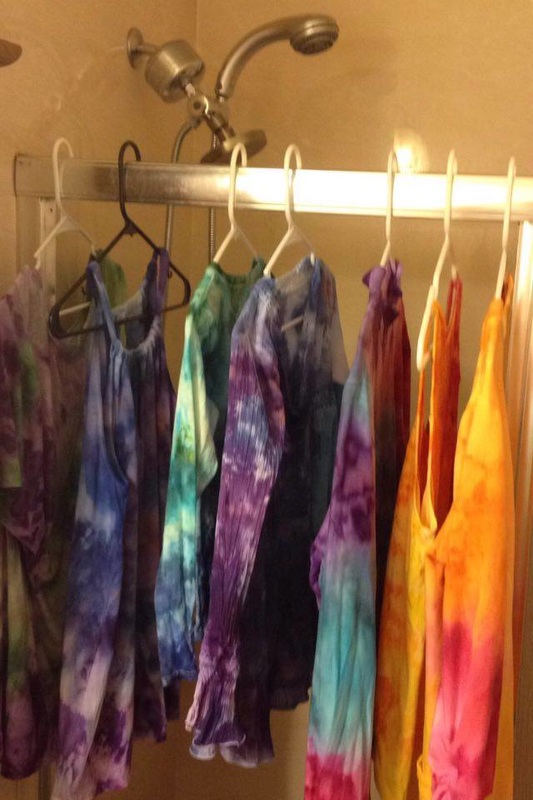 I'm really thrilled with how everything turned out! As a matter of fact I have ice dyed a bunch of different things since then. I'm even selling stuff now! 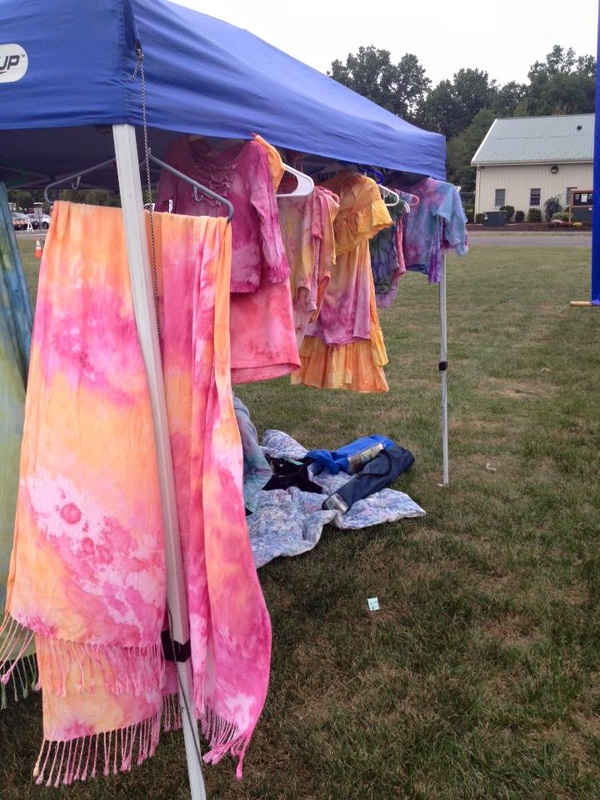 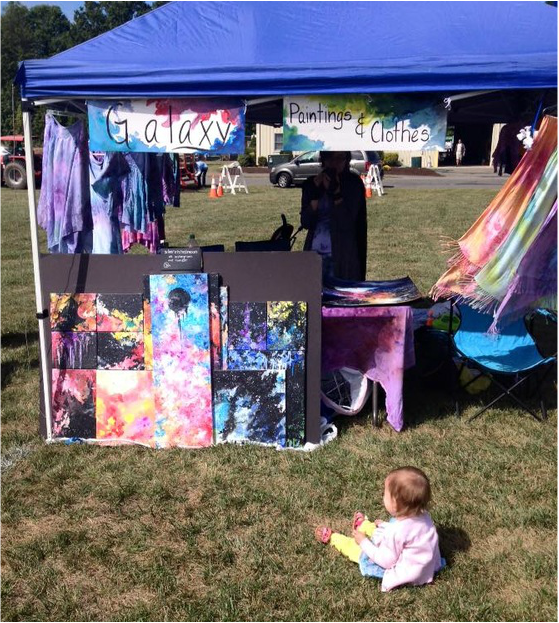 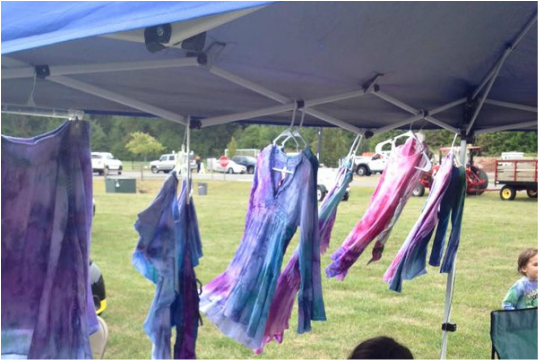 I hope this has inspired you to do it yourself! I also have stock on hand and can take custom scarf orders if you like. Just tell me what colors you like :) Here are some action pictures of stuff we dyed :)  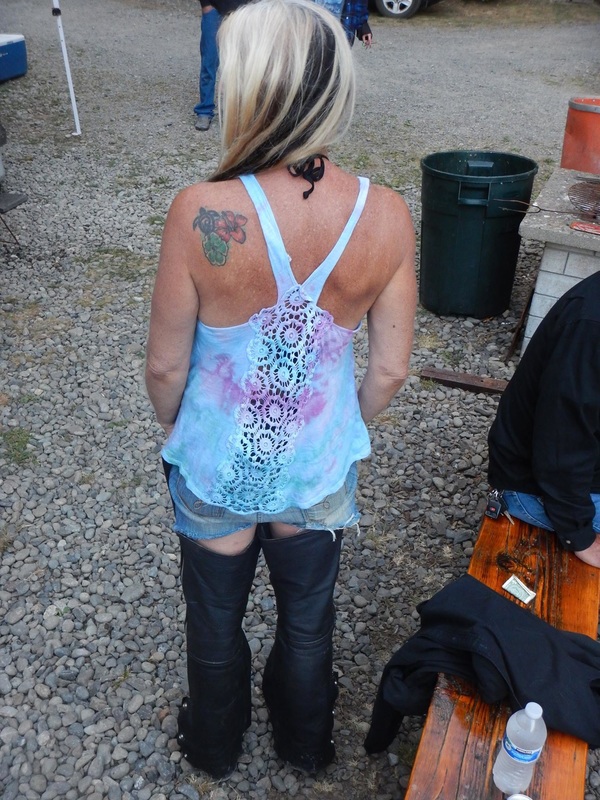  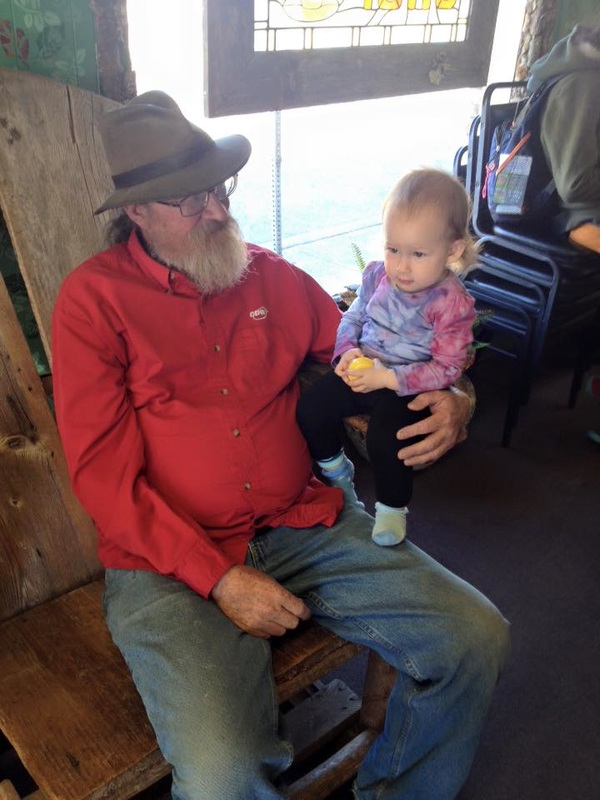
0 Comments
|
AuthorI'm so tired. The children are so not tired. |
 RSS Feed
