|
The rhetoric of exclusion is exhausting me.
STANDS ON A SOAPBOX *You can be in support of helping refugees WHILE ALSO be in support of helping our veterans in the US. * *You can be in support of black lives matter WHILE ALSO being against anyone getting murdered or discriminated against. * *You can believe in body autonomy and making your own medical choices WHILE ALSO wearing a mask and socially distancing so you don’t infect yourself or other people Covid. * *You can be in support of, or you yourself be, LGBTQ AND ALSO have a living breathing relationship with God. * THESE THINGS ARE NOT MUTUALLY EXCLUSIVE. Just because we are talking about one issue, doesn’t mean the others don’t matter. They matter too. And we will get to them. But right now? Black lives matter. My black brothers and sisters just want to live without being profiled, abused, and murdered. So I’m going to keep shouting about it. #BLM #BlackLivesMatter
0 Comments
 When the pandemic hit, my first thought was “how can I help my friends and family be safe?” As masks become a requirement to enter into stores the answer was obvious. Use my skills and horde of sewing supplies to make masks. Like any proper DIYer I searched online for a tutorial. There were so many options and patterns. As I watched these tutorials I noticed one thing, they had such fancy and nice equipment! Sewing machines that cut your thread and roll your seam and even make you breakfast. Me and my simple machine figured it out ourselves. I adapted a pattern and adjusted. I taught myself how to sew years ago, and I’m probably not even doing it right. I’m definitely not a professional and I have the most bare bones sewing machine that exists. Behold! 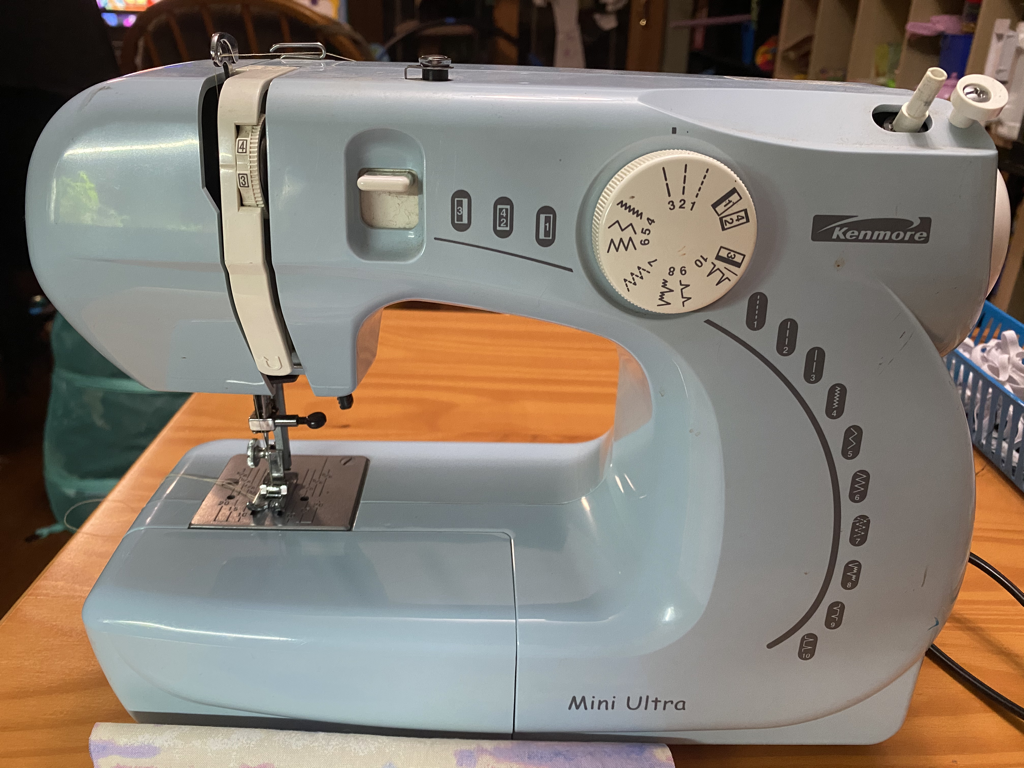 Isn’t she pretty? She’s simple, but she gets it done. She’s 16 years old. I love her. So here is a simple tutorial without “sewing speak”. I’ve split up the videos so there is one video per step. It was super annoying when I kept having to go back in a 15 min long video just to see one particular step again. So I wanted to save you from that. These are pleated masks, with a nose wire and a pocket to put in a filter if you like. This is what they look like on.  Enough of the chatting! Let’s get to it!  16 inch x 8 inch piece of cotton fabric. I made a template out of cardboard from my recycling pile. That way I didn’t have to keep measuring. Highly recommend. 5.5 inch piece of pipe cleaner. If you don’t have pipe cleaners you can use a bread tie or not use the nose piece at all. Two 7.5 inch pieces of elastic. (Men tend to need 8 to 8.5 inches) Now this may be variable depending on the elastic you have. You have to feel this one out. If you don’t have elastic you can use long pieces of ribbon and tie on the head. ruler of some sort pins scissors STEP ONE Cut your fabric. Do I really need to tell you this? I didn’t think so. You certainly don’t need a video of it. So go do that. I’ll wait for you. STEP 2 Put your fabric wrong side facing you. Take the short ends and fold them over twice to make a seam. It’s video time! See that pretty seam? Do it on both short sides. You got this. STEP 3 Fold the fabric, wrong side facing you, so that the seams line up nicely on top. Measure 1.5 inches on both sides and pin to mark the spot. You are doing great!! STEP 4 Sew from the outside toward the pin, stopping at the pin. Do that on both sides. Do not sew over your pin. It does not end well. Ask me how I know that. STEP 5 It’s starting to become something! Now make it so the seam is on the bottom. Fold the fabric in such a way that when you open the hole.... flaps (I have no idea what to call those) they are just at the bottom of the fabric. Ok, you really need a video for this. That sounds confusing. Ok, that was tricky!! STEP 6 It’s elastic time! Shove your elastic in there with only the end peeking out. Do this on the top and bottom on both sides. Pin that stuff because it likes to move. STEP 7 Sew straight down both sides while reinforcing the spots that have elastic. Make sure you keep the hole flaps in the open position. Again, don’t sew over your pins! STEP 8 You have made it to the easiest step!! Turn it inside out!! Or really right side in I suppose. Jam your fingers or a pencil into the corners to make sure they look nice. At this point, if the mask is for you, put it on. It should be a tiny bit loose but still fit you nicely. If it’s for another family member, chase them around the house, tackle them, and stick the mask on them. All set? Next step! STEP 9 Take the mask off the face it’s inhabiting. Obviously. Now we are going to sew in the nose piece. Center the pipe cleaner over the top of the mask to see where you need to sew. Sew about 1/4 inch down. Stop your machine with the needle in the fabric to hold your spot and make a nice corner. Shove the pipe cleaner in through the hole and stick one end of it right where you just sewed. Line the pipe cleaner up along the top of the mask. Sew along the pipe cleaner. Once you get past the end of the pipe cleaner do another nice corner and sew up to the top. Do not sew the pipe cleaner itself, you will mess up your needle. STEP 10 I hate this step. Pleats suck. But let’s do this. I’m not even going to try to explain this nonsense. Make sure you pin away from the edges because leaving the pins in while you sew is easier. Just watch. LAST FREAKING STEP Sew down both sides securing the pleats. You just did it! Look at that fancy mask you just made! It’s got a pocket for a filter and everything!!!
I hope this was helpful! If you do this, send me pictures!! I want to see :). |
AuthorI'm so tired. The children are so not tired. |
 RSS Feed
